 how-to
How to Find Admissible Evidence for Court
Table of Contents
- What Makes Evidence Admissible in Court?
- Step 1: Document Crime Scene Evidence Correctly
- Step 2: Follow Chain of Custody Documentation Procedures
- Step 3: Secure the Admissibility of Digital Evidence
- Step 4: Organize Your Evidence for Trial
- Common Mistakes That Get Evidence Excluded
- Conclusion
- Frequently Asked Questions
Last Updated: September 6, 2026
What Makes Evidence Admissible in Court?
Admissible evidence is any testimony, document, or tangible object a judge permits the trier of fact to consider. The standard rests primarily on the Federal Rules of Evidence, which apply in federal courts and often model state rules. Evidence must be relevant, and its probative value must not be substantially outweighed by the danger of unfair prejudice.
The judge, not the jury, acts as the gatekeeper. Before any exhibit reaches the jury, your attorney must lay a sufficient foundation, including authenticating the item and establishing its chain of custody. At MCP Investigations & Security, we have spent over 20 years collecting evidence for criminal defense attorneys.
What most guides miss is that finding evidence is only half the battle. The logistical steps you take in the first hours after an incident determine whether that evidence will ever be seen by a jury. The rules governing this process are detailed in the Federal Rules of Evidence, which outline the specific requirements for relevance, authentication, and hearsay exceptions.
Step 1: Document Crime Scene Evidence Correctly
The moment you identify potential evidence, your documentation process begins. This systematic procedure creates an indisputable record and is your first chance to build a foundation that will survive a challenge.
The Photographic Record
- Establish Context: Before anything is moved, take wide-angle shots of the entire scene from multiple vantage points. These photos must show the spatial relationship between the evidence and its surroundings. If the evidence is in a room, photograph the entire room from each corner.
- Capture Mid-Range Shots: Move closer to the evidence to show its position relative to other fixed objects, like a doorway, a piece of furniture, or a landmark. This helps a judge or jury understand the scene's layout.
- Take Close-Ups with a Scale: For each item of evidence, take a close-up that includes a ruler or a common object of known size (e.g., a coin or a standard business card). This provides a sense of scale that is critical for physical evidence like fibers, tool marks, or blood spatter. Take one photo with the scale and one without to show the item's true surface.
- Photograph from All Angles: Do not settle for a single perspective. Photograph the item from 360 degrees to capture any markings, damage, or unique features that might be relevant.
- Document the 'Negative': If you are documenting a scene where something is missing (e.g., an empty spot on a shelf where a weapon was allegedly kept), photograph that empty space. This can be as important as photographing what is present.
The Written Record
Your contemporaneous notes are a legal document subject to cross-examination. Write them as if the judge is reading over your shoulder.
- Record the Basics: Note the exact date, time, and location of the incident and of your documentation. Include the weather conditions if the scene is outdoors.
- Describe the Evidence: For each item, note its precise location (e.g., "on the floor, 3 feet from the north wall and 2 feet from the door"), its condition (e.g., "a single drop of red-brown liquid, dried"), and any identifying marks.
- Log Your Actions: Write down every action you take, in chronological order. For example: "10:15 AM - Photographed the scene from the doorway. 10:20 AM - Took close-up of the knife on the kitchen counter. 10:25 AM - Placed the knife in a paper bag and sealed it." This log is your first link in the chain of custody.
- Avoid Conclusions: Your notes should state facts, not opinions. Instead of writing "the defendant's bloody knife," write "a kitchen knife with a red-brown substance on the blade was found on the counter." Let the evidence speak for itself.
The 'How-To' Difference
Most legal guides tell you to 'document the scene,' but not how. A common mistake is failing to photograph evidence from multiple angles or neglecting the surrounding area. If an attorney can show the scene changed between discovery and documentation, they will argue the evidence is unreliable. Your systematic approach, moving from general to specific, is your best defense.
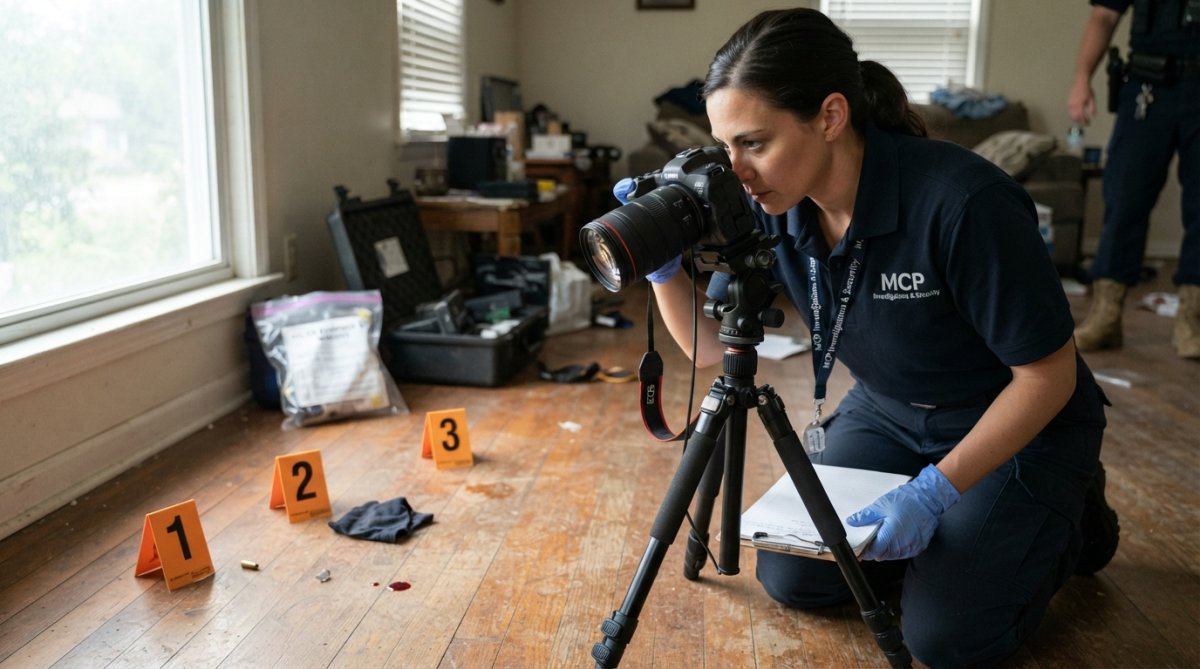
Physical evidence like fingerprints, fibers, and biological samples requires immediate preservation. Collect each item using proper technique to avoid contamination, then package it separately in containers that prevent degradation. Your notes and photographs may be subject to cross-examination, so accuracy matters more than speed.
Step 2: Follow Chain of Custody Documentation Procedures
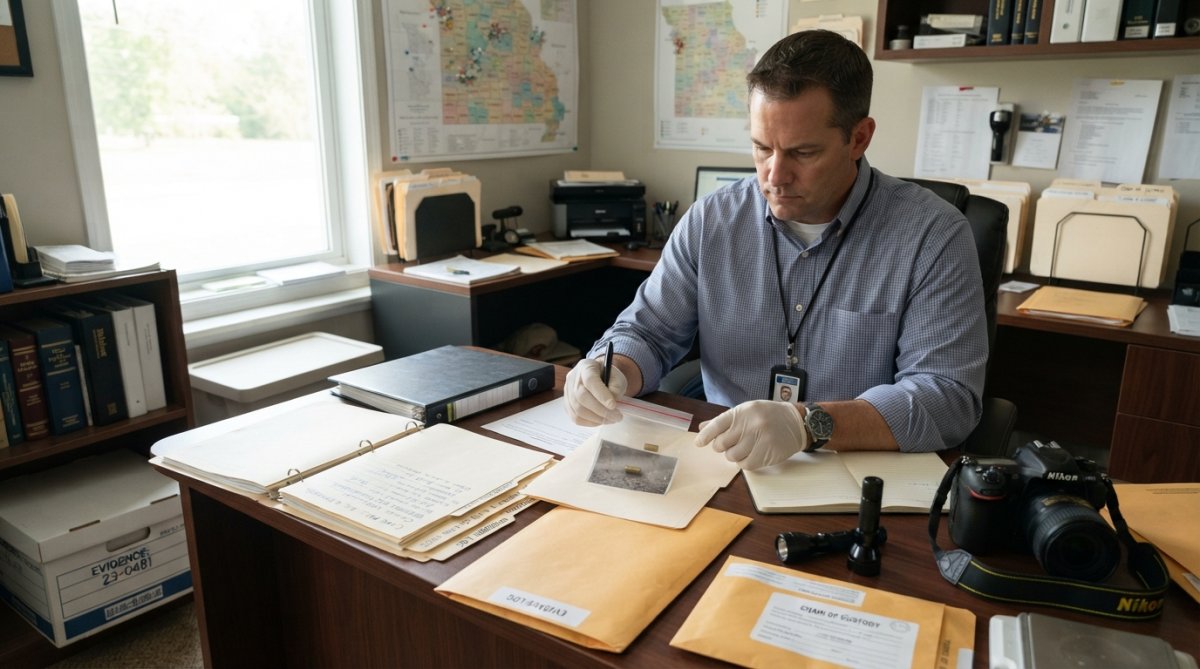
Chain of custody documentation procedures are the unbroken record of every person who handled evidence from collection to presentation in court. Each transfer must be logged with the date, time, individual's name, and purpose. A single gap can render the evidence inadmissible, regardless of how probative it may be.
Effective procedures include clear labeling, tamper-evident packaging, and secure storage with restricted access. Every person who touches the evidence must be prepared to testify about their role. Courts require this documentation to protect against tampering or substitution, and the burden falls on the party presenting the evidence.
For attorneys managing discovery, the chain of custody begins the moment you receive evidence from a client or investigator. Maintain a detailed log that tracks every exhibit from intake through trial preparation. If working with a professional investigator, confirm they provide certified documentation that will withstand scrutiny from opposing counsel.
Step 3: Secure the Admissibility of Digital Evidence
Digital evidence presents unique authentication challenges because files can be easily altered and metadata can be misleading. Its admissibility requires demonstrating that the data is authentic and has not been modified since collection. Standard forensic practices, such as creating a hash value of the original file, can help establish this reliability.
When collecting digital evidence, preserve the original device whenever possible rather than simply copying files. If you must extract data, use write-blocking tools that prevent any modification to the source. Document every action taken during the collection process, including the software used and the individuals present. The National Institute of Standards and Technology guidelines on digital evidence provide a useful framework for proper forensic handling.
Social media posts, text messages, and emails are commonly introduced in litigation today. Screenshots alone are rarely sufficient, as they can be fabricated or edited. Your attorney may need to subpoena the service provider to obtain authentic records directly from their servers, which establishes a more reliable foundation than a printout from your phone.
Step 4: Organize Your Evidence for Trial
Effective organization separates a compelling case from a confusing one. For a pro se litigant, it is a strategic necessity. The judge will not help you find a document or understand your own system. A disorganized presentation can lead to evidence being excluded for lack of proper identification or foundation.
The Master Exhibit List
This is your single source of truth. Create a table with the following columns:
| Exhibit No. | Description | Date Identified | Source/Witness | Authentication Method | Objections Anticipated | Status (e.g., Admitted, Excluded) |
|---|---|---|---|---|---|---|
| 1 | Photograph of the intersection | 2026-09-01 | Self (Plaintiff) | Testimony that it is a fair and accurate depiction | Lack of foundation | Ready |
| 2 | Text message from Defendant | 2026-09-02 | Cell Phone | Printout + testimony identifying the number | Hearsay (exception: admission of party-opponent) | Ready |
| 3 | Signed Contract | 2026-08-15 | Self | Testimony identifying signatures | Authenticity | Ready |
This list forces you to think through the foundation for each piece of evidence before you are in the courtroom. It provides a quick reference for you and the judge, and it demonstrates that you are organized and prepared, which can influence how much leeway the judge gives you on procedural matters.
The Exhibit File System
For each exhibit on your master list, create a physical or digital file containing:
- The Exhibit Itself: The original or a clearly marked copy.
- Chain of Custody Documentation: Any logs or notes that track the evidence from collection to present.
- Authentication Materials: Any notes on how you plan to authenticate the exhibit (e.g., who will testify, what they will say).
- Relevant Notes: Any other information that might be useful, such as a copy of a relevant statute or rule.
Organize by Witness or Legal Element
Do not organize your trial binder chronologically. Organize it by witness or by the legal element you need to prove. For each witness, prepare a separate folder containing the exhibits you intend to use during their testimony, making it easier to lay the proper foundation at the right moment.
For example, if you are proving a breach of contract, you might have a folder for the witness who can authenticate the contract and another for the witness who can testify about damages. When that witness is on the stand, you have everything you need in one place.
Preparing for the Court Clerk
Before trial, you will need to provide your exhibits to the court clerk, who is responsible for marking and managing them. To make their job easier and to avoid delays:
- Use Clear Labels: Place a label on the back or bottom corner of each physical exhibit with the exhibit number (e.g., "Exhibit 1").
- Prepare a Set for the Court: Have a clean, unmarked copy of each exhibit ready to hand to the clerk for the court's record.
- Ask About Local Rules: Call the clerk's office before trial and ask about their specific preferences for exhibit submission. Some courts require a specific number of copies, while others have specific rules for digital exhibits.
The 'How-To' Difference
Most legal guides tell you to 'organize your evidence,' but not how to do it in a way that functions in a real courtroom. This system, a master list, individual files, and clear labeling, is designed to be used under pressure, the difference between fumbling through papers and confidently presenting your case.
During pretrial preparation, review each exhibit against the common objections your opponent might raise. The Federal Judicial Center resources on evidence presentation offer guidance on how judges typically rule on foundational issues. Rehearse the questions you will ask yourself or your witnesses to introduce each piece of evidence, ensuring the foundation is complete before the exhibit is offered.
Common Mistakes That Get Evidence Excluded
| Mistake | Consequence | How to Avoid It |
|---|---|---|
| Broken chain of custody | Evidence excluded as unreliable | Log every transfer with date, time, and handler |
| Photos without scale or context | Exhibit lacks authentication | Use measurement markers and wide-angle shots |
| Altered digital files | Data ruled inadmissible | Preserve originals and use write-blocking tools |
| Late disclosure in discovery | Exhibit barred by court order | Exchange evidence within deadlines |
| Hearsay without an exception | Testimony struck from record | Identify the exception before trial |
The most frequent reason evidence gets excluded is a failure to establish relevance or authentication during the foundation phase. Attorneys sometimes assume that because evidence is clearly connected to the case, it will be admitted without question. In practice, the judge must hear testimony establishing each element of the foundation.
Another common error is attempting to introduce evidence that violates the hearsay rule without identifying a recognized exception. While the hearsay rules contain numerous exceptions, each requires specific foundational facts. Your attorney must know which exception applies and elicit the necessary testimony to satisfy it. The Legal Information Institute overview of hearsay exceptions provides a comprehensive list of the exceptions recognized under federal rules.
For pro se litigants, the exclusionary rule can feel like a trap. Judges apply the rules strictly but recognize that self-represented parties may not know the technical requirements. The most effective strategy is to prepare a written foundation for each exhibit and submit it to the judge before trial, demonstrating good faith and giving the court an opportunity to address issues in advance.
Conclusion
Preparing admissible evidence requires attention to every step, from initial documentation at the scene to final organization for trial. A single procedural error can undo weeks of investigation work, which is why many attorneys rely on professionals who handle evidence collection daily. At MCP Investigations & Security, we combine over 20 years of experience with certified record retrieval and witness interviews to support criminal defense outcomes across Southeast Missouri.
We document every finding according to strict chain of custody documentation procedures. We locate and interview witnesses, obtain certified copies of convictions nationwide, and provide expert witnesses with experience in depositions and trials. Get started with MCP Investigations & Security.
Frequently Asked Questions
What are examples of inadmissible evidence?
Evidence is inadmissible when it fails to meet the Federal Rules of Evidence standards. Common examples include hearsay that does not fit an exception, evidence obtained through an illegal search, and documents that cannot be authenticated. Evidence that is irrelevant or whose prejudicial effect outweighs its probative value is also excluded. The judge, as the trier of fact on admissibility, makes this decision.
What is the chain of custody and why does it matter for admissibility?
The chain of custody is a documented record of every person who handled a piece of physical evidence from the moment it was collected to its presentation in court. This procedure proves the evidence has not been tampered with or altered. If a gap exists in the chain of custody documentation procedures, the opposing counsel can object, and the judge may rule the evidence inadmissible.
Can digital evidence be used in court?
Yes, digital evidence is admissible if it meets the same standards as physical evidence. You must show it is relevant, authentic, and reliable. This means documenting how the data was collected, preserving the original device or creating a verified forensic image, and maintaining a clear chain of custody. Screenshots alone are often insufficient without metadata or testimony to authenticate them.